A Handmade Christmas
9:09 PM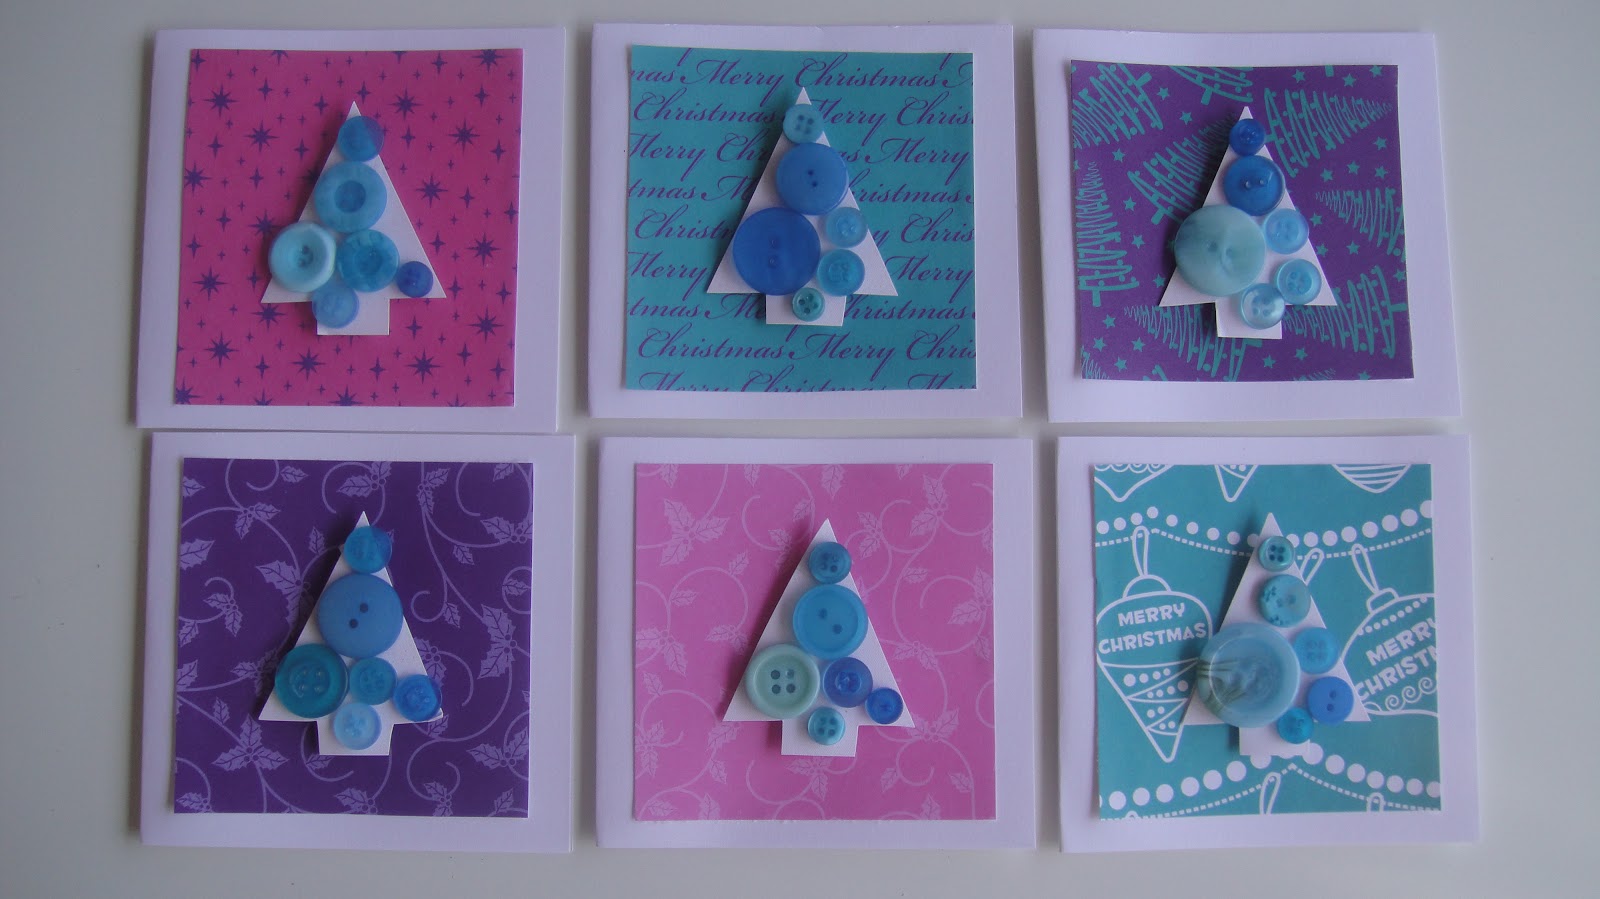 |
| I've handmade my cards for the last few years and always love doing it. People don't receive many home-made cards anymore, so it's something I like to put the effort into. These supplies were from Spotlight & super easy to make! |
 |
| Using the same Spotlight paper, I whipped up some bunting and some hanging decorations for the entry. The stensils were from old Better Homes & Gardens Magazines. |
 |
| A little display I set up in the entry using bits & pieces I've collected over the years. The butterflies were made from the same Spotlight paper. |
 |
| Hard to get a good photo but here's my Christmas tree! I LOVE it and I love seeing the special decorations have fun memories attached. The kids know which ones are their own significant ones and love to look and touch! |
 |
| Hope's special decoration this year :-) |
 |
| A friend made me this beautiful fabric bunting - it fits so perfectly, I love it! |
 |
| My daughter's name has special significance at this time of year :-) |
 |
| I prettied up our deck with some handmade baubles attacked to ribbon - easy and very effective! |
 |
| My little piano display of bits and pieces. I got the Advent Calendar this year and had so much fun filling it - and the kids are absolutely loving it! Some of the things inside the drawers have been Christmas stickers, stamps, chocolates, beaded decorations and special messages. It'll be fun thinking of more age-appropriate ideas in the coming years. |
 |
| Some handmade gifts by the kids (with a little help from me!) I'll be sharing the recipe for these tomorrow. |
I love Christmas and the many opportunities it brings to make pretty things! I just want to share with you a few handmade ideas that I've done this year. People always love receiving handmade things and they don't always take too much time or effort to do. I've done some decorating around the home too, to get into the spirit - and it always gives me joy to see it!
It's so special and fun to make handmade things and to step back and remember that Christmas isn't just all about spending and buying. I'd love to hear your handmade ideas too!
|
| I've handmade my cards for the last few years and always love doing it. People don't receive many home-made cards anymore, so it's something I like to put the effort into. These supplies were from Spotlight & super easy to make! |
|
| Using the same Spotlight paper, I whipped up some bunting and some hanging decorations for the entry. The stensils were from old Better Homes & Gardens Magazines. |
|
| A little display I set up in the entry using bits & pieces I've collected over the years. The butterflies were made from the same Spotlight paper. |
|
| Hard to get a good photo but here's my Christmas tree! I LOVE it and I love seeing the special decorations have fun memories attached. The kids know which ones are their own significant ones and love to look and touch! |
|
| Hope's special decoration this year :-) |
|
| A friend made me this beautiful fabric bunting - it fits so perfectly, I love it! |
|
| My daughter's name has special significance at this time of year :-) |
|
| I prettied up our deck with some handmade baubles attacked to ribbon - easy and very effective! |
|
| My little piano display of bits and pieces. I got the Advent Calendar this year and had so much fun filling it - and the kids are absolutely loving it! Some of the things inside the drawers have been Christmas stickers, stamps, chocolates, beaded decorations and special messages. It'll be fun thinking of more age-appropriate ideas in the coming years. |
|
| Some handmade gifts by the kids (with a little help from me!) I'll be sharing the recipe for these tomorrow. |


